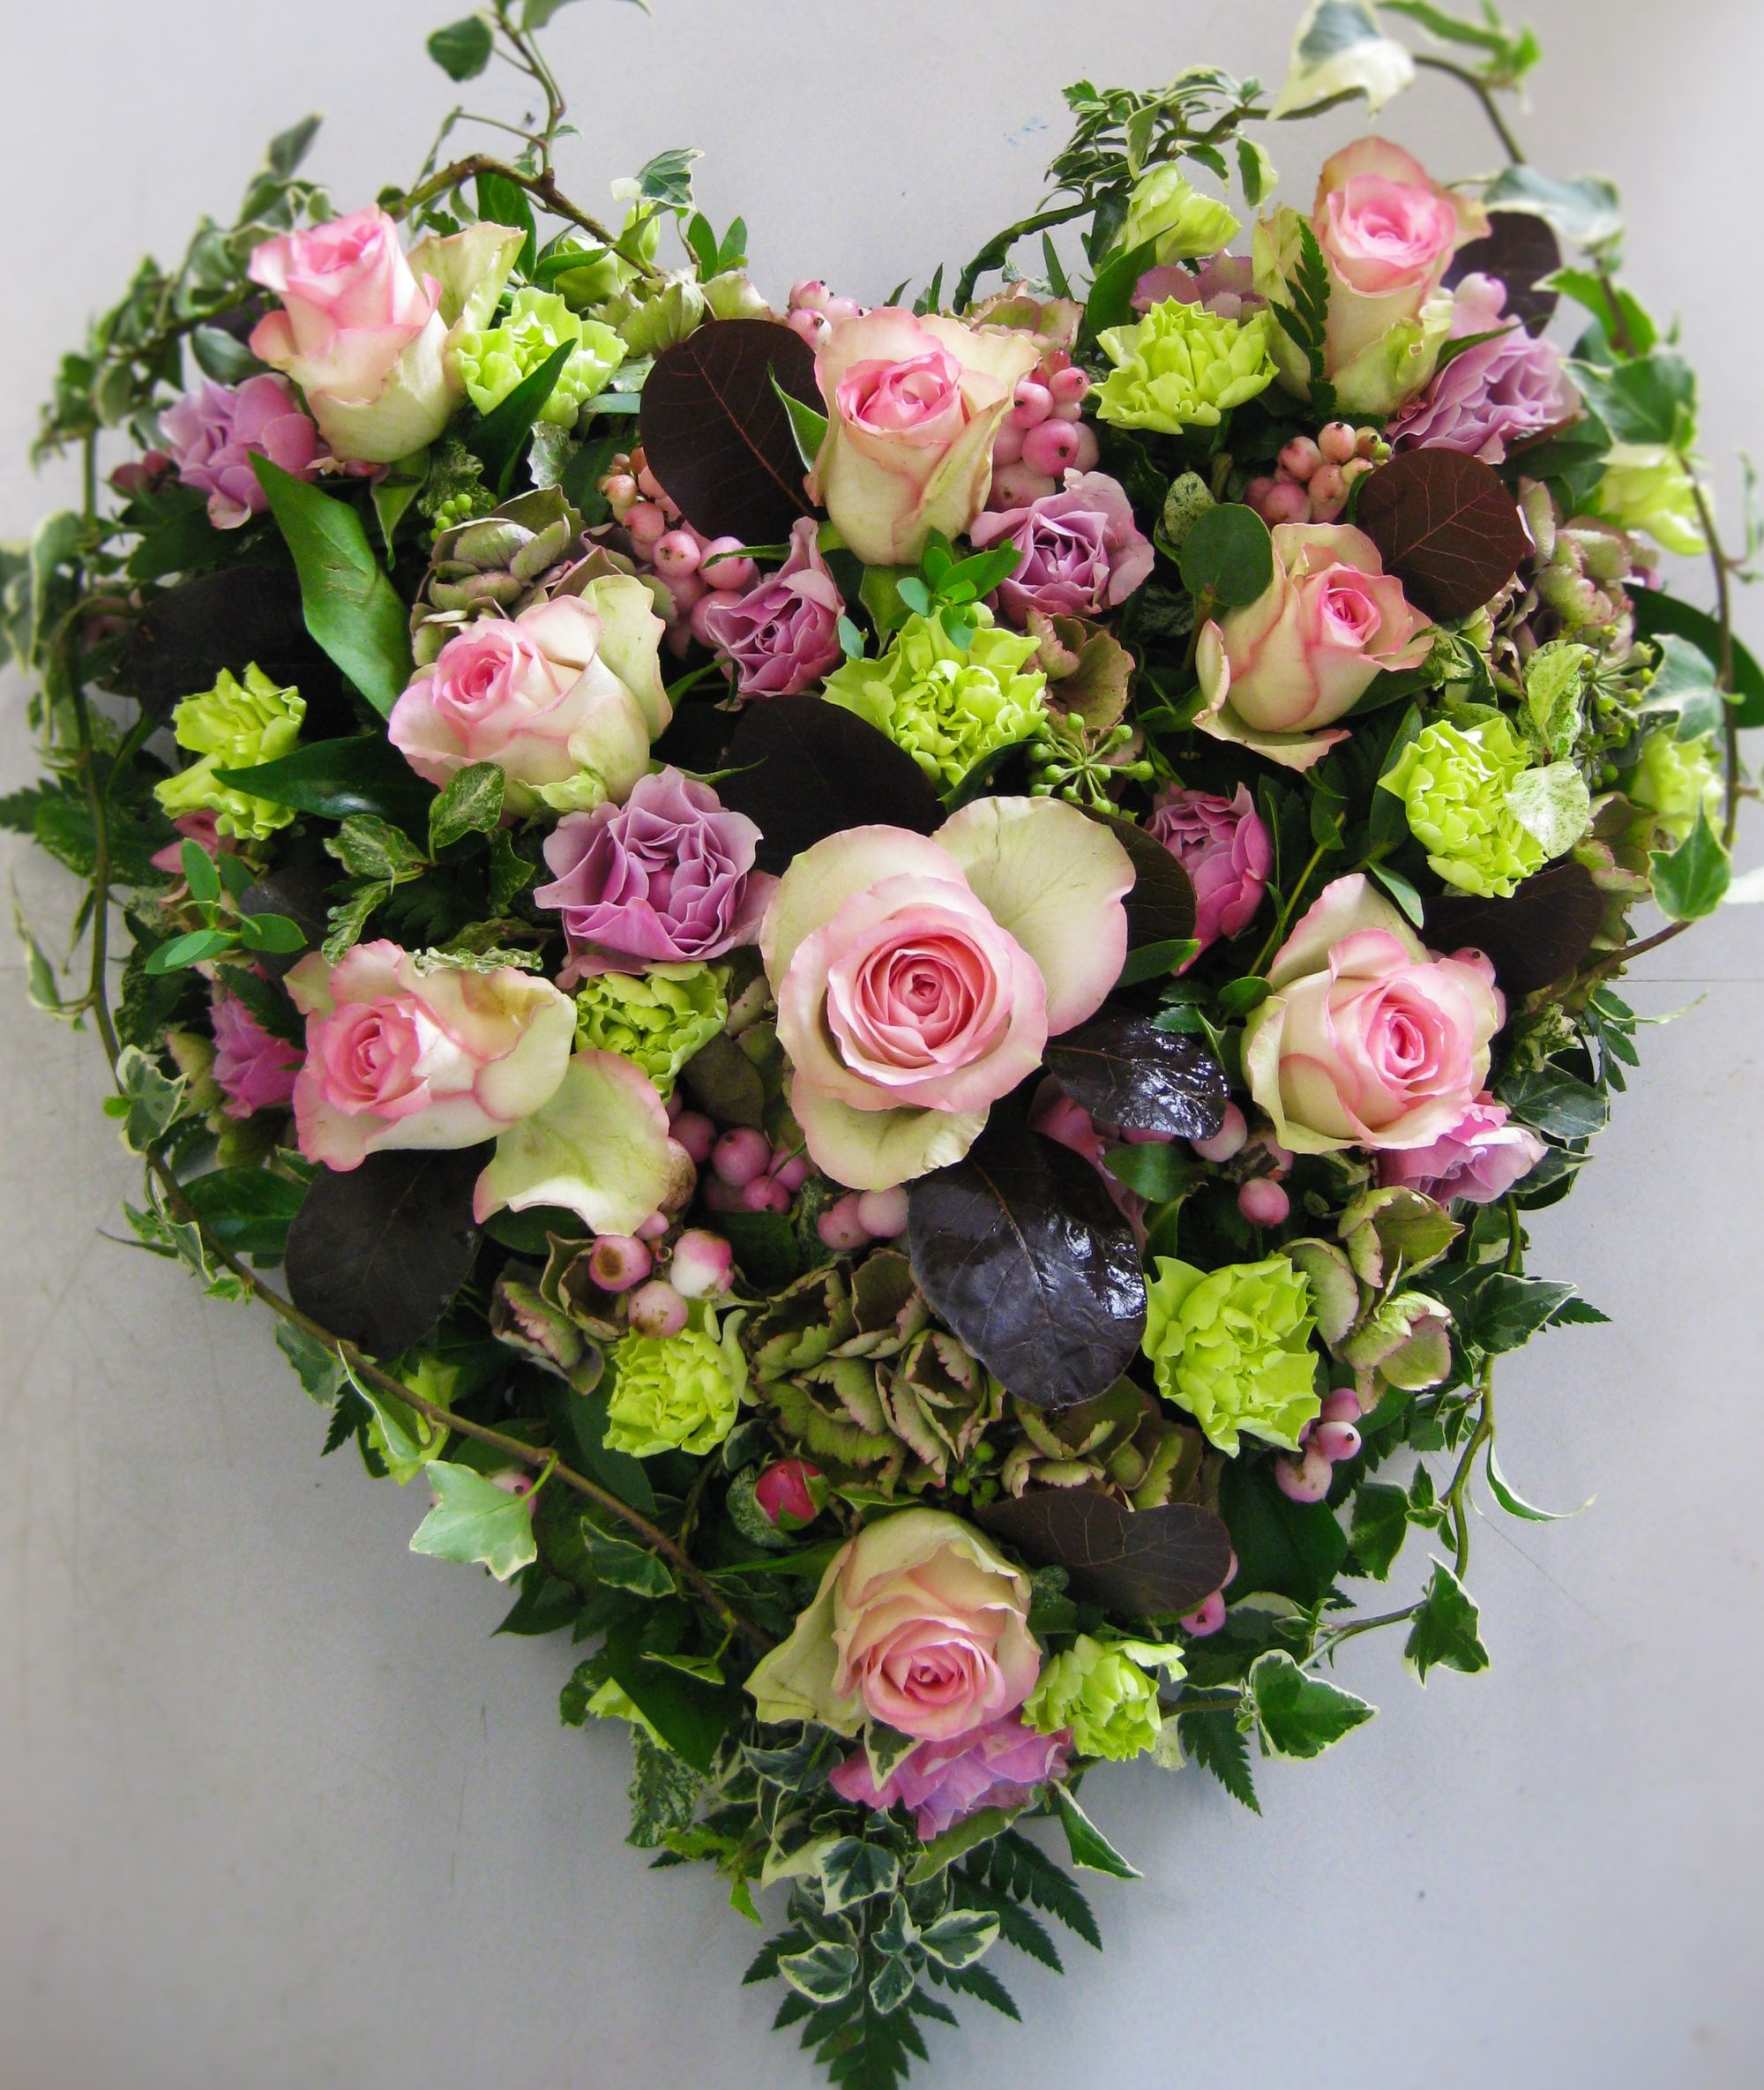
Winter Blooms in your January Newsletter.
Welcome to Emma's Floristry, my monthly newsletter with latest news, floral ideas for you to make, and events coming up. I hope you all had a wonderful Christmas and were able to relax and enjoy the festivities.
Once again, thanks for signing up.

Have you noticed how the earth is waking up? I spotted early flowering Daffodils bursting through the soil in late December, and recently saw snowdrops whilst out walking Rame my dog. Catkins are appearing on the bare trees, a cheerful reminder of hopefully warmer days ahead!
So if you are wanting to capture the early essence of spring, and bring greenery into your home this month, kokedama might just be your new favorite hobby! It’s like bonsai’s quirky cousin, and it’s perfect for beginners. I thought I would show you how to make this simple kokedama arrangement. The best part is, its inexpensive and takes about half an hour to make!
What is Kokedama?
Kokedama is where a plant's root system is simply wrapped in moss and bound with string, transforming it into a unique sculptural art form. "Koke" means moss and "dama" means ball in Japanese, hence the name "moss ball."
It originated in Japan during the Edo period (1603–1868). The practice is believed to have started as a way for the lower classes to enjoy bonsai without needing to own expensive pots.
What you need.
x3 hyacinth bulbs. I bought a pot at Lidl supermarket for £1.99. You could use amaryllis or snowdrops
A few sprigs of catkins for decoration, or moss covered twigs or twigs with small cones.
Moss, you can buy this online or from florists wholesalers. You could see if you have some in your garden covering buildings, roofs, walls or try raking up some from your lawn.
Twine or decorative wire.
Scissors.
Gloves.
Method.
Start by gently easing the bulbs out of the pot. Hyacinth bulbs can be an irritant to peoples skin, so wear gloves or choose another type of bulb.

Gently knock off excess compost, the roots are quite fragile so it is inevitable that you will break some but, be as gentle as possible.
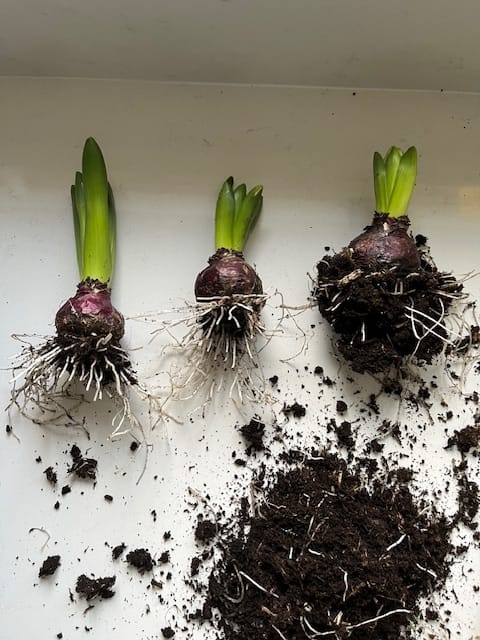
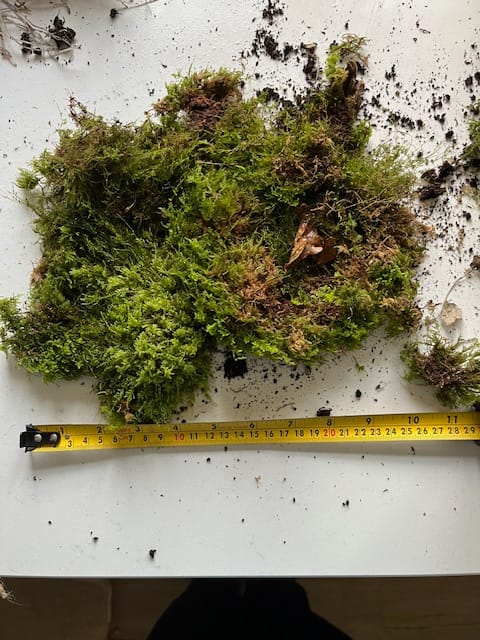
Now with your moss gently lay it out as flat as possible, don't worry if it breaks (mine did). I lightly misted the moss with some water to enable to manipulate it around the bulbs.
Gather the roots and place in the centre of your flattened moss. Fold the moss up around the bulb.
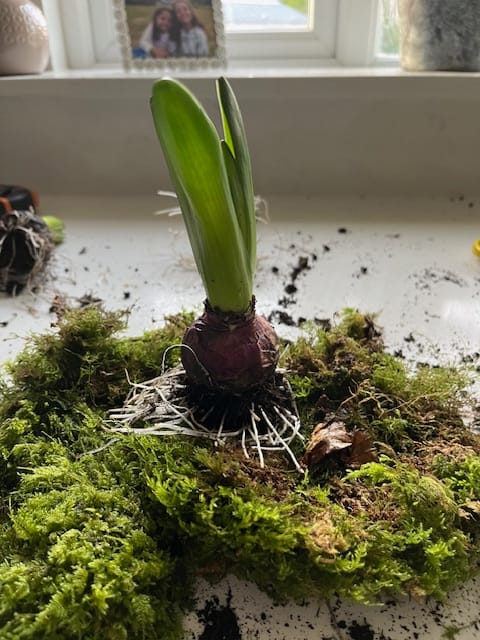
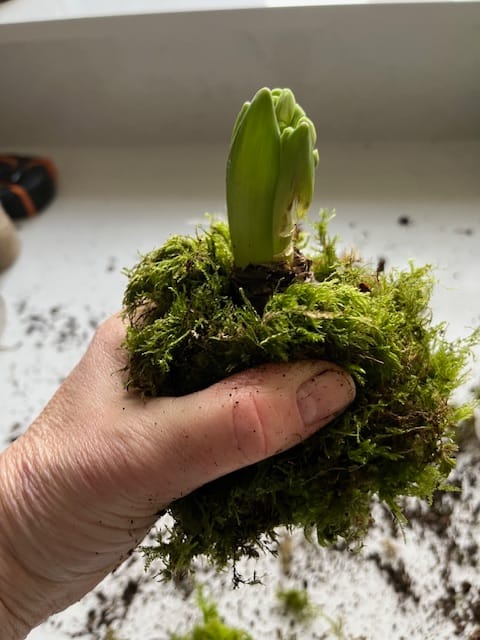
Leave a short length of string or wire if using free. This will give you and end to tie off and secure at the end.
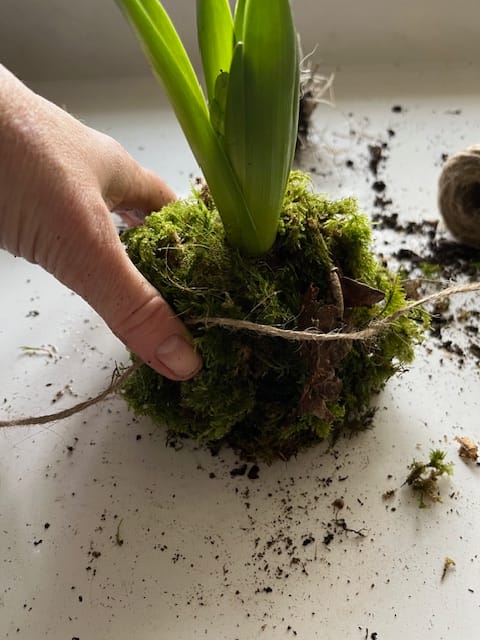
Wrap the string or wire around in all directions to ensure the moss stays in place.

Once you are happy the moss will not fall off, cut and tie to the end you left at the start.
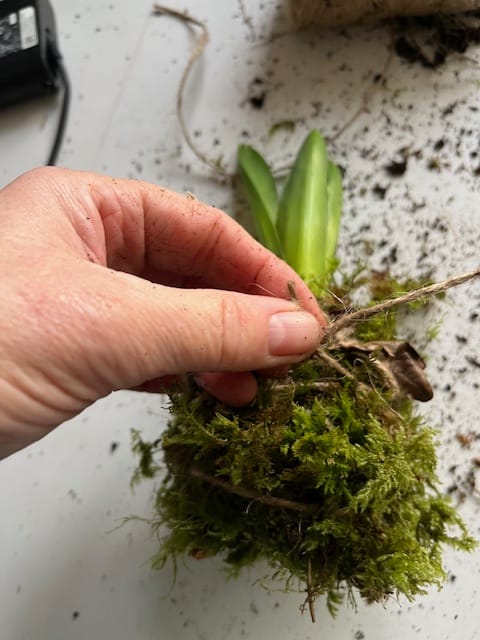
I poked some short lengths of catkins under the string to add some interest to the arrangement, and placed them on a plate with a lantern and fir cones for added interest.
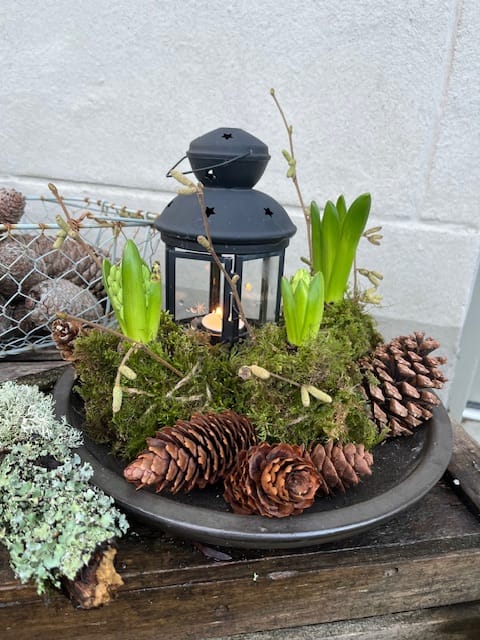
On warm days I might pop them outside on an old wooden crate to add a welcome to any visitors or just as a pretty arrangement for people to see as they walk by.
I will probably bring them indoors and place them on a window sill on colder days.
Aftercare
Feel the weight of the moss covered ball every few days and mist with water to keep it hydrated. Turn the arrangement daily as hyacinths grow towards the light. They will possibly flop as they grow taller so be aware and prop up with sticks, choose a supportive container or enjoy their natural waywardness! I hope you have fun and enjoy making this arrangement. If you do I'd love to see the results, please send me a picture!
I'm always looking for new ideas. If there's anything you'd like to make please let me know and I'll come up with a plan! Just reply to this email, or send to ejbrinsden@gmail.com
I'd be very grateful if you spread the word, and encouraged your family and friends to subscribe!
Love Emma xx
